How we make our handmade and organic Soaps
Yes, what exactly is an artesan soap or handmade soap as we also call it. What is the difference between a handmade soap and the regular one you buy in the store?
Lets sort this out right here and start from the beginning.
An oil or fat is chemically a triglyceride, which means that it has three fatty acid molecules bound to a glycerin molecule. When oils are mixed with lye (sodium hydroxide), a saponification process starts that pairs the fatty acid molecules with the lye molecules and forms a new substance, a fatty acid salt a.k.a soap!
It is important to add that no lye remains when the saponification process is complete.
A soap molecule (fatty acid salt molecule) has the property of being both fat and water soluble. The soap therefore dissolves grease and dirt on the skin and takes it with you when rinsing with water. During saponification, glycerin is also released from the oils, and glycerin has a moisturizing effect on the skin. In industrial soaps (the regular out there) however, glycerin is normally removed from the soap, because glycerin itself is a valuable raw material and too expensive to leave in cheap soap.
Handmade soaps, on the other hand, still have their glycerin. With additives in the form of clays, herbs and extracts, a handmade soap can be the very best alternative to a good and natural cleaning product.
How do you make a handmade soap then?
Each oil has a unique saponification number, which means that all oils require different amounts of lye (sodium hydroxide) to be able to saponify. Here we soap makers use a soap calculator to calculate the right amount.
When composing a soap recipe, you decide what percentage of fat you want the soap to have. This means that a certain part of the oils / fats are not allowed to be saponified, but are left in the soap to moisturizing the skin.
In, for example, the CLEANING SOAP all greases or oils are saponified so as not to leave any grease on the surfaces. That soap would not be so emollient to wash the body with. While our other handmade soaps are at an excess fat percentage of between 5-6 %, leaving a nice moisturizing on the skin.
Once you have decided which oils and fats to use (they all have different skin care properties) and the recipe is calculated, the soap making begins.
Safety first!
As the lye is extremely corrosive and can splash up, you must always wear protective gloves in plastic / rubber, goggles and long-sleeved / long-legged clothing and covering shoes.
Carefully measure the different oils in a large vessel, some must be melted such as shea butter, beeswax and cocoa butter, and set them aside.
Then you measure the water suitable to the oils and lye according to the Soap calulator. Then the lye (sodium nitroxide NaOH) is to be weighed. We always use grams.
The lye is then poured very carefully into the liquid, NEVER the other way around as it can create a volcano that splashes over.
When lye and water are mixed, the temperature of the liquid increases. Sometimes it can go up to 70-80 degrees. When it has dropped to 40-45 degrees, it is time to pour it in the oils that should have the same temperature.
As soon as the lye liquid mixes with the oils, the saponification itself begins. Now we speed up the process and use a hand mixer. With pulsating movements, the oils and the lye liquid are now mixed to a homogeneous mass of soap.
After a few minutes (time various depending on what oils you have) when you start to see traces in the mix, like a delicious custard, it is time to add the additives you prefer. You can add clays, pigments, scents, herbs and more to make the soap just the way you want it.
When everything has been mixed, pour the soap batter into molds. I use large oblong wooden molds that I cover with waxed paper. The mold is tapped hard a few times in the workbench to release any air bubbles.
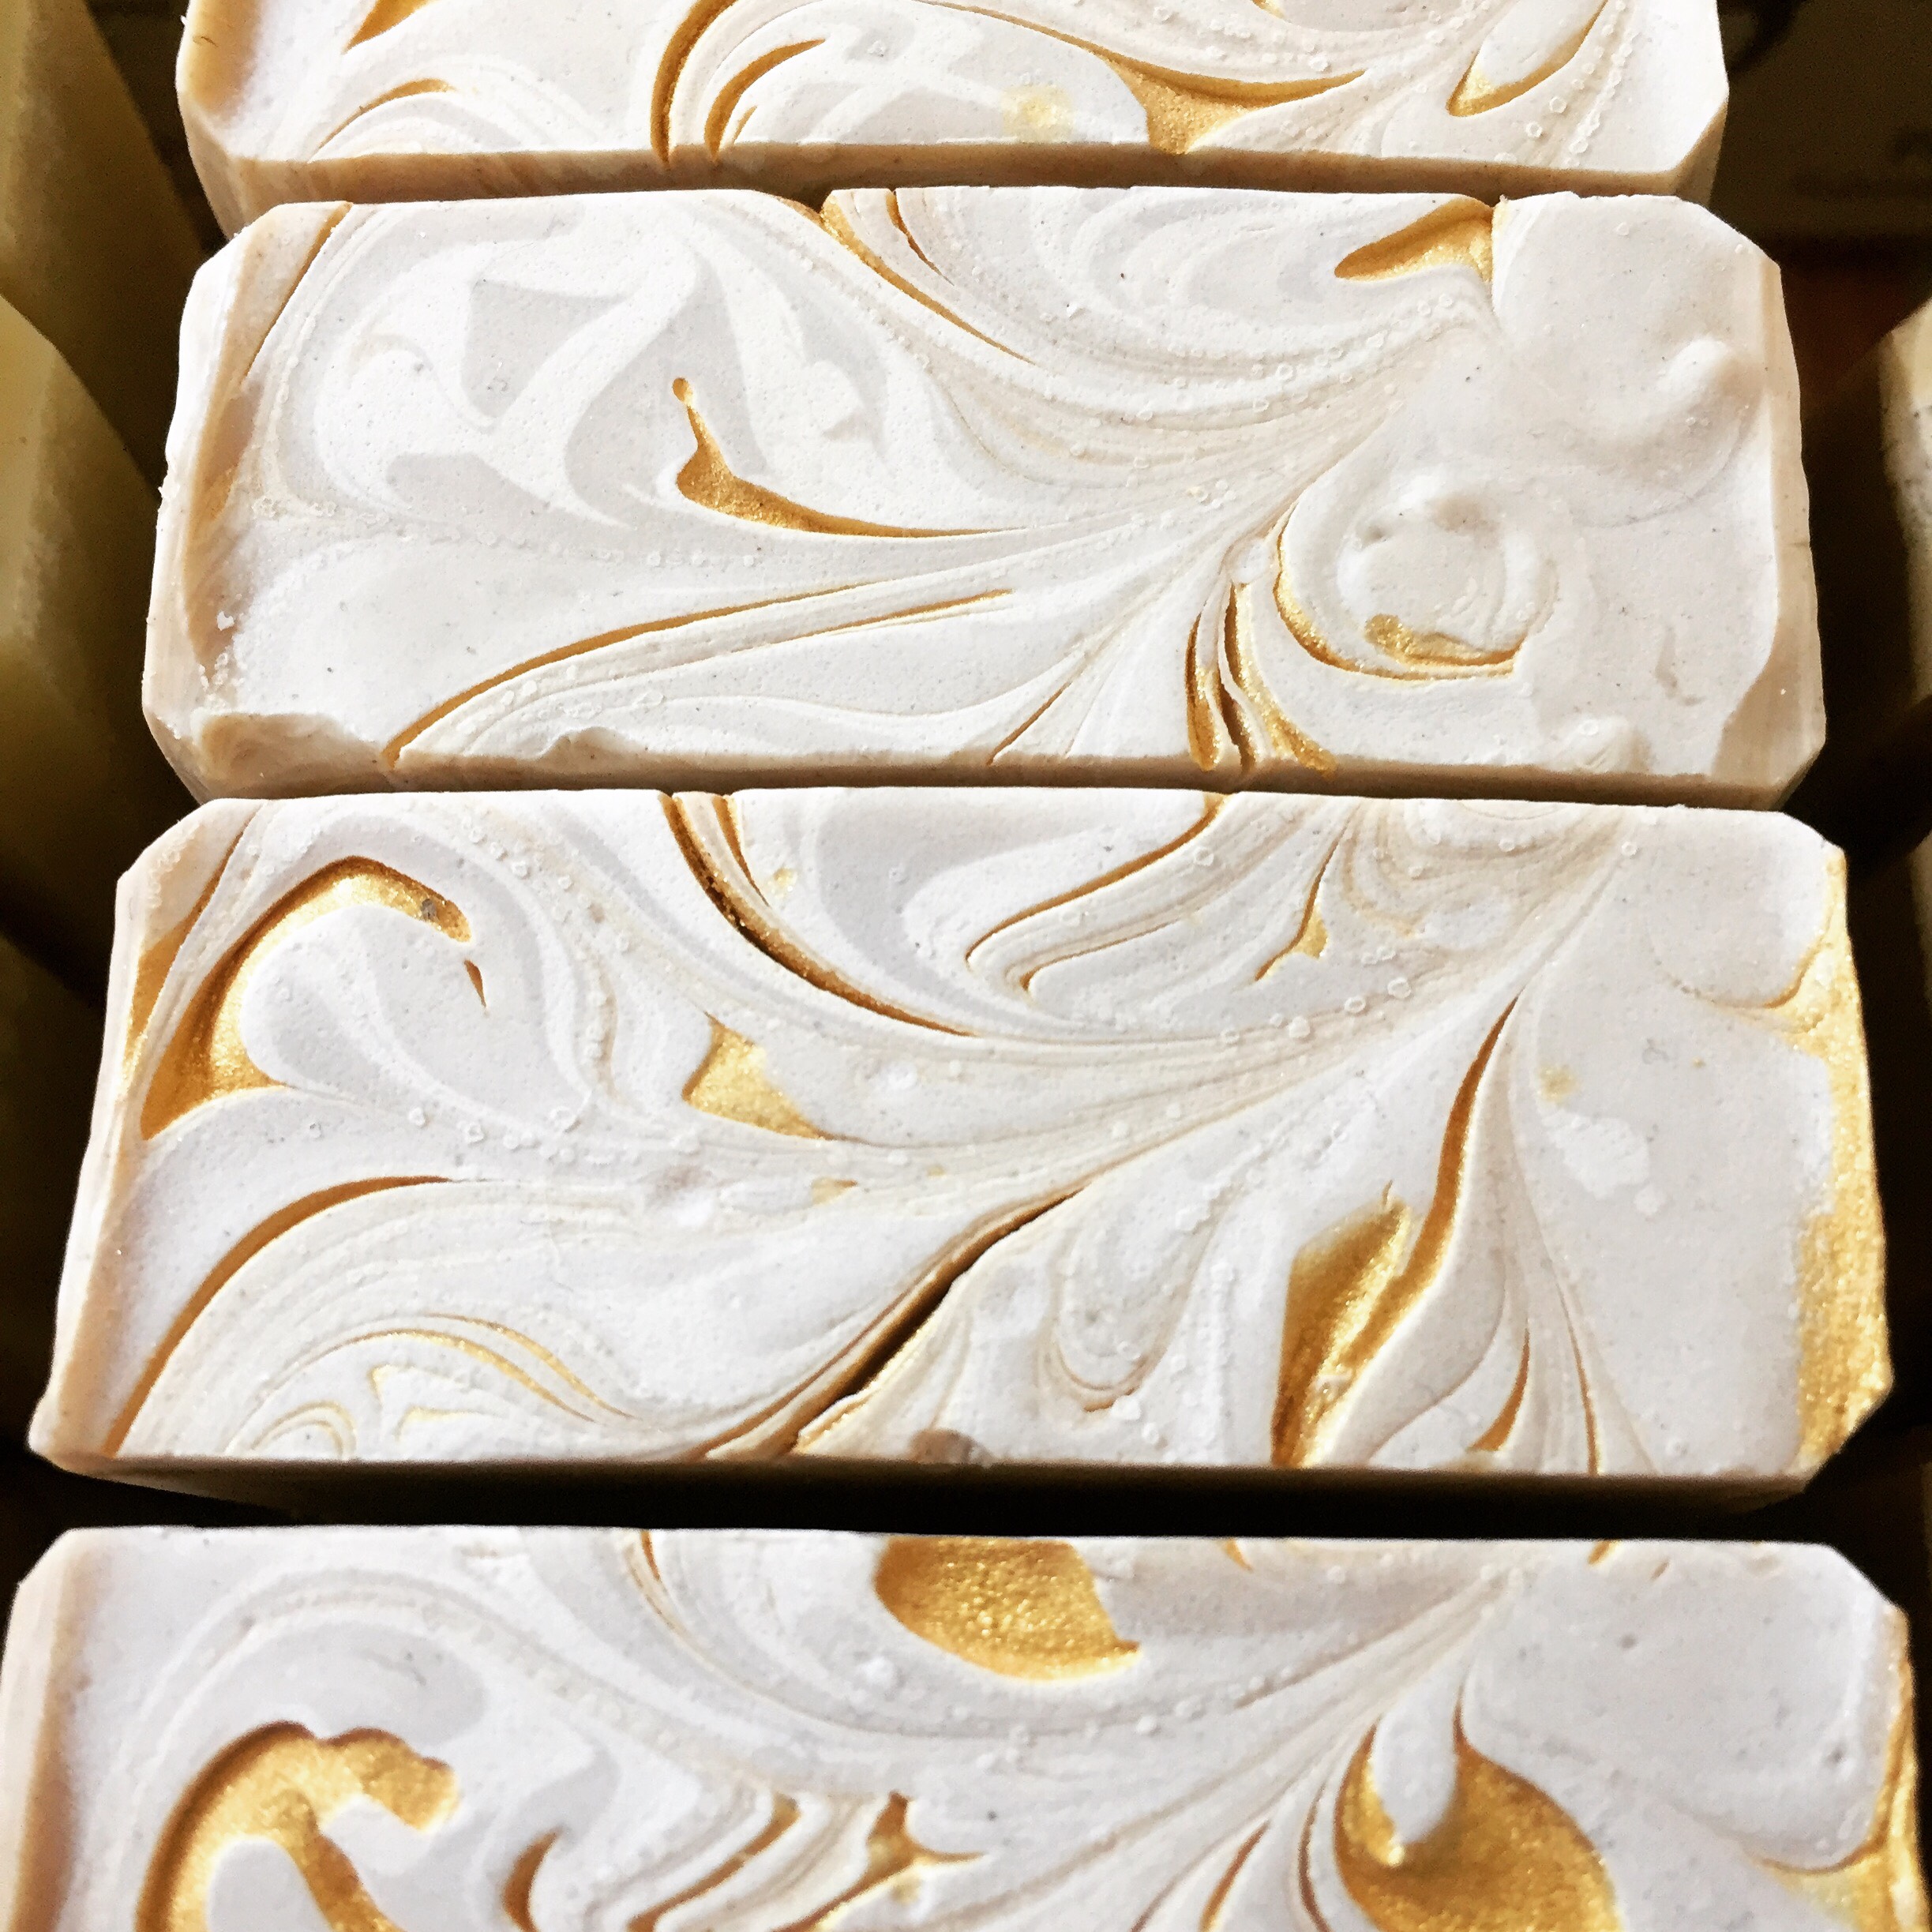
Now the creative phase begin. If you want a single-colored soap, it is enough to pour the soap batter into the mold, but if you want to make patterns and "swirls", you color in part of the mass and use different techniques to achieve these.
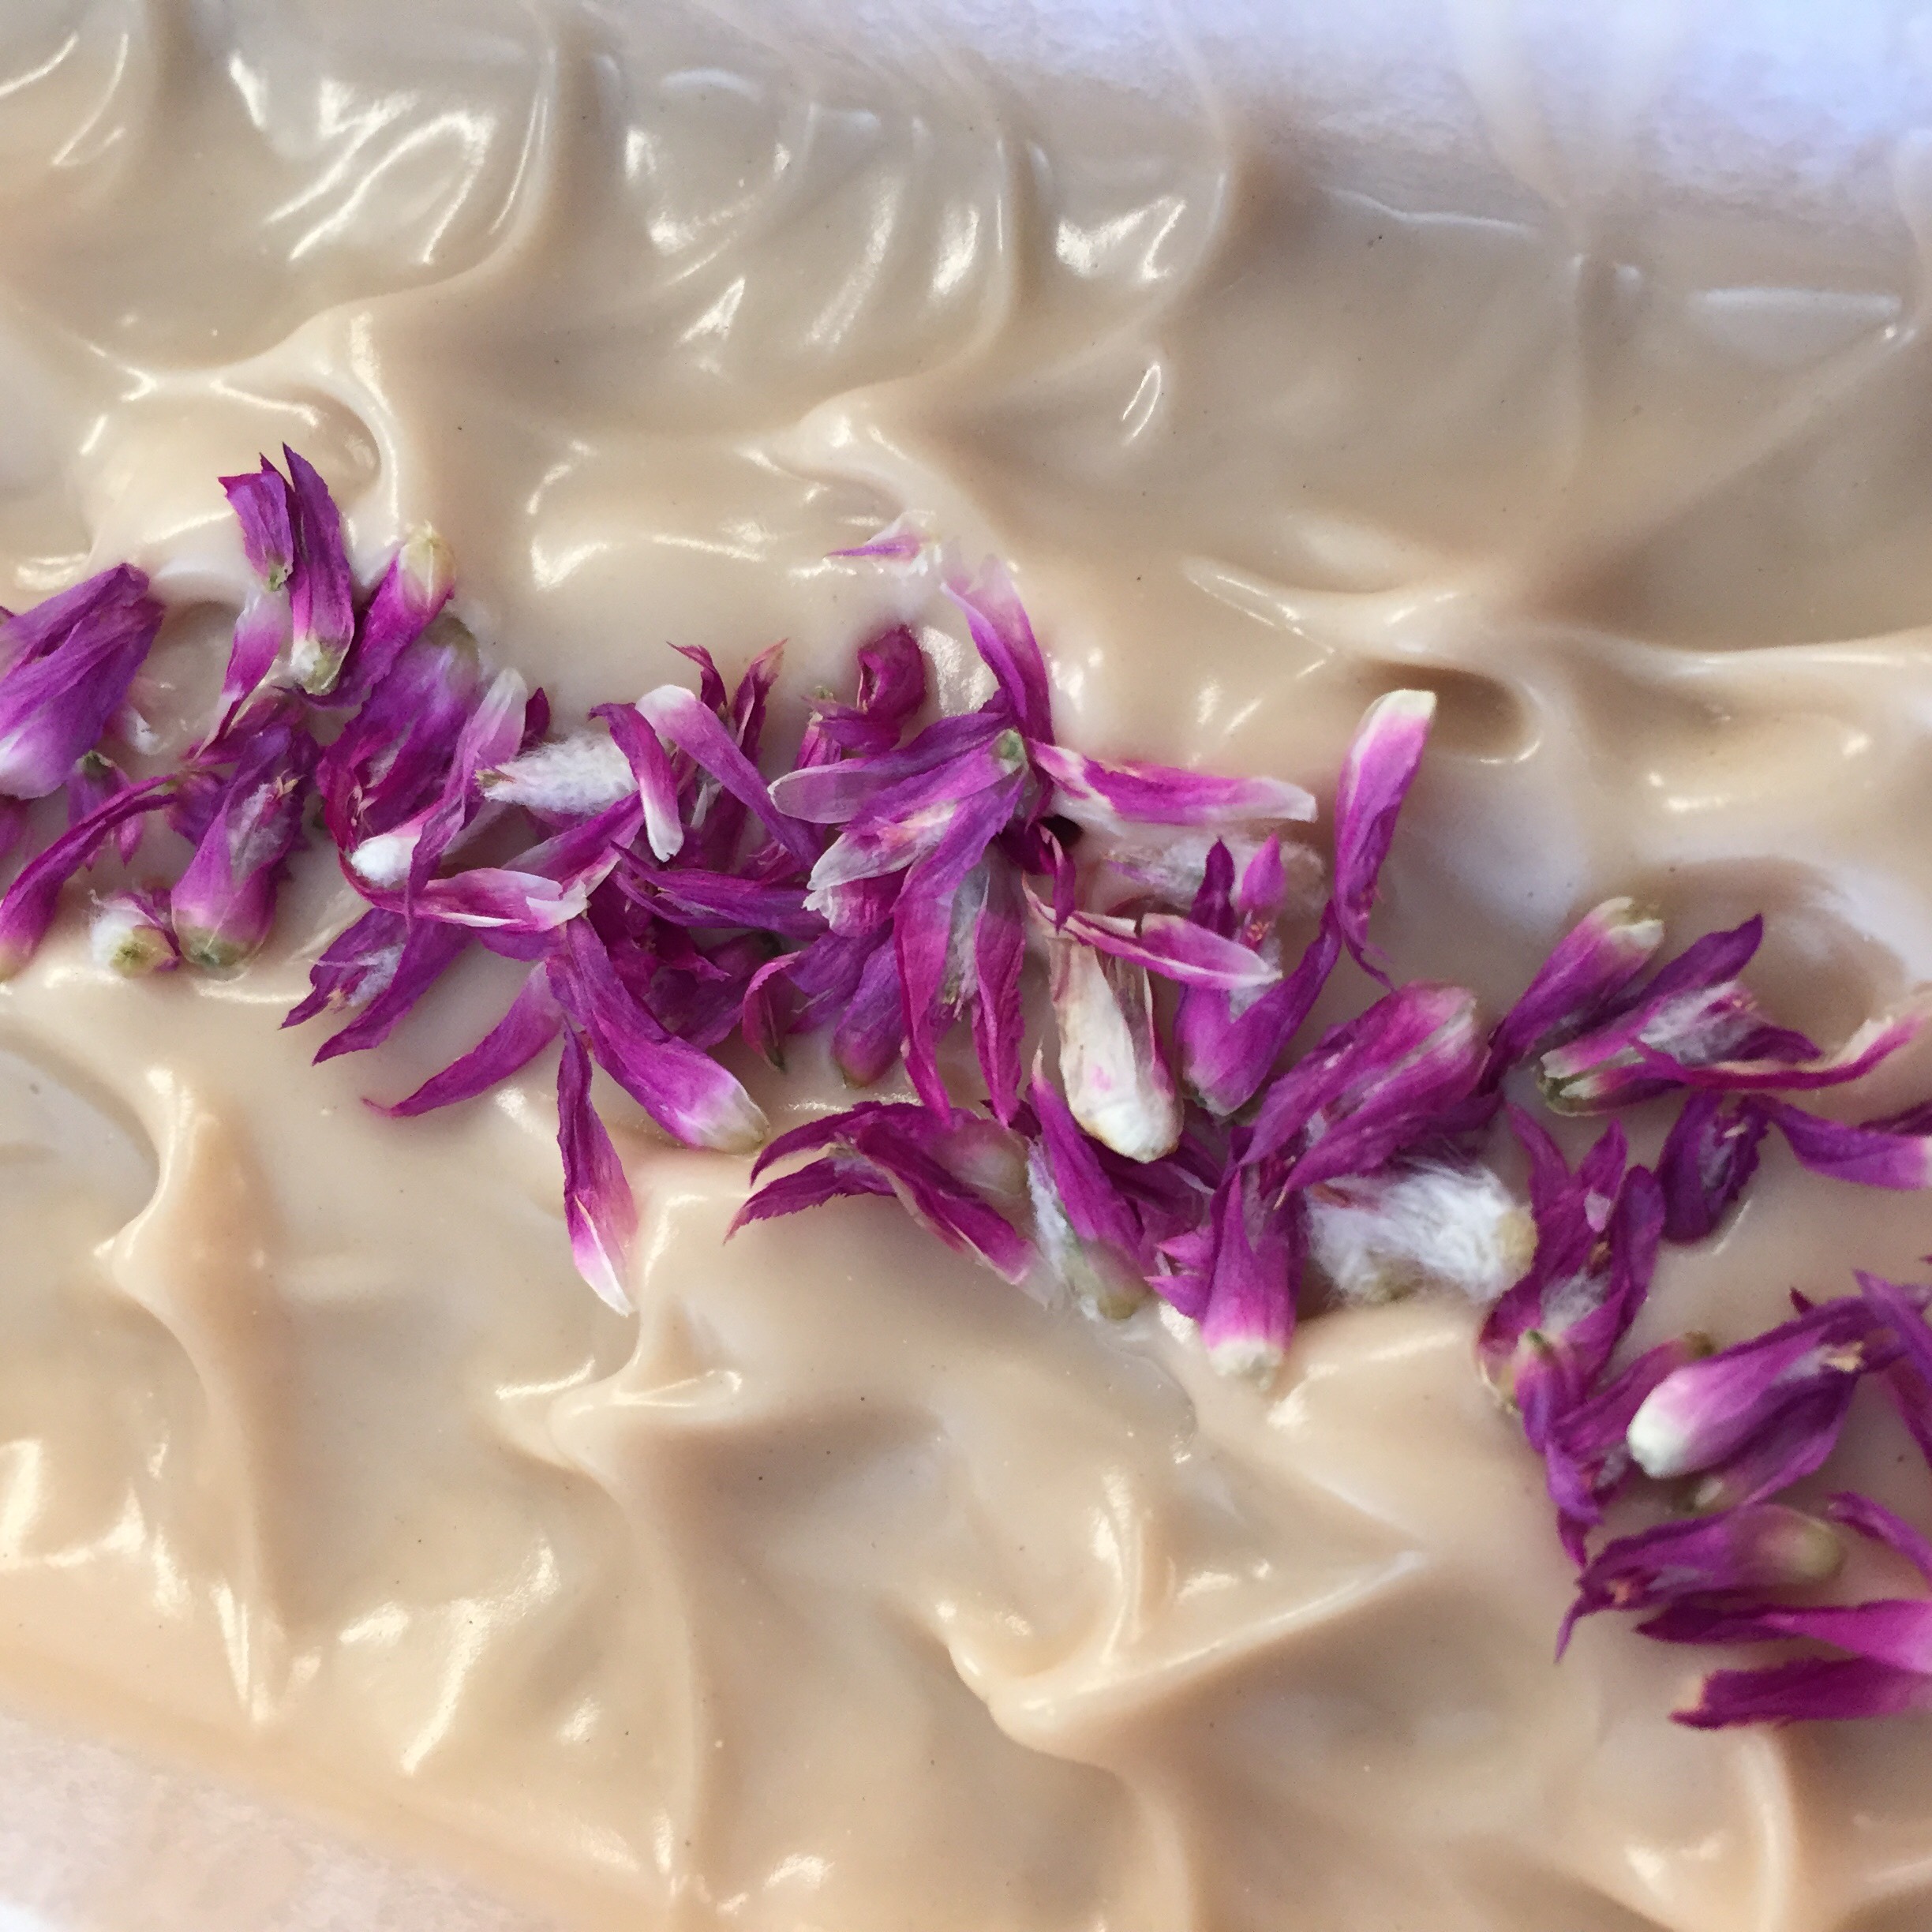
Finally, many of us make a pattern on top with "peaks" or dried flowers. The possibilities are endless.
After about 24-48 hours, the soap batter has undergone a gel phase and finally solidified enough that it can be taken out of its shape and cut into reasonably large pieces. No lye is left in the soap.
Now the edges are trimmed and the soap will be stored dark and dry for about 4-6 weeks, the liquid disappears and they get hard and will last longer. However, if you have made a Castile soap, i e a soap on olive oil only, it takes up to 6 months before it is completely ready.
Then it's time to start using the soaps!! To make the Soap last longer you should try to keep it as dry as you can between the usings. There are many smart soap dishes (or Soap in a rope) that help you out.


